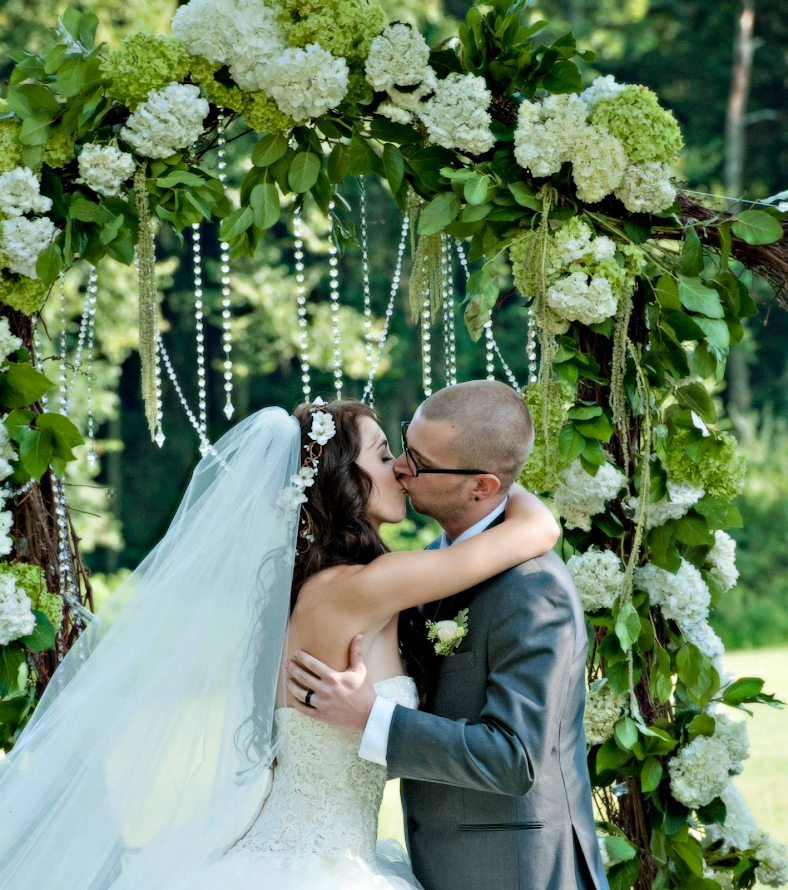

Justin and I finally got to finish some of the candle holders. I am so sorry I haven't had time to write on here. We have been very busy as I am sure most people have been due to the holidays etc. Justin and I are so happy with how they turned out. I apologize ahead of time for the first set of pictures. I did not get my new camera until after Christmas, so they were taken with my iPhone.
Tools and Items you will need:
- Fallen tree with or with out bark, your preference.
- Tea Lights - We used Richland 7 hour burn tea lights.
- Miter Saw
- Drill
- Spade Bits 1.5 inch.
- Bench Vise
- Safety Glasses
First, I want to express how much I love the tea lights we are using for the wedding. They are made by Richland and you can buy them on Amazon. They are supposed to last for 7 hours, my first tester lasted 7 hours and 45 minutes. I burned a cheap Walmart candle and it out burned it by almost 3 hours. For those brides that are trying to decide between tea lights and votives, I highly recommend these for the price. You won't have to buy the glass votive holders, and they are cheaper. I paid $24.99 for 100 candles. In my opinion they are worth it. Now, onto the fun stuff!
First, I took another walk through the woods to find a good sturdy fallen tree that still had most of the bark attached. I found a maple tree that would be perfect and dragged it out of the woods. We cut the tree into sections and discarded the sections that were rotted or were missing pieces of bark. Then started to cut it into the sizes we wanted them for the candle holders.

Please make sure to wear safety glasses when doing this step.
We used a Miter saw to cut them down to size, but you could also use a
chain saw or something similar. We found the Miter saw to be the fastest
way and provide the straightest cuts. We wanted our candles to be all different sizes. So we made some short medium and tall ones. We also made sure to include any of the little stumps where the branches were into the candle designs and cut them accordingly.

In less than an hour, we had the good parts of the tree cut up into the candle holders. We were able to get pretty many candles out of the tree in various sizes. We found that as we were cutting them to size that some of the bark started to peel off. you can see that in the bottom picture. What I plan to do, is use some wood glue to put the bark back on the log.


After we cut all of the candles up, it was time for holiday mode. So we boxed them up and came back to them this week. For the next step we used a 1/2 inch reversible drill with a 1.5 in spade bit. This can be done with a smaller drill, however, we tried that at first but it took too long with hard wood. If you have a smaller drill, I recommend using a softer wood like Pine.
Please make sure to wear safety glasses when doing this step.
We inserted the candle holder into the bench vise and wrapped it with a piece of old cloth to protect the bark. We then started to drill into the center of the candle holder. We used a tea light to check how far we should drill into the wood. Once we had the first one at the depth we wanted, we marked the depth on the spade bit with a permanent marker so we would know when to stop drilling. This made the whole process much faster.


Clean the wood dust from the candle holders and insert the tea lights and they are finished. We wanted them to look as natural as possible. So we left them this way. You could seal them if you wish. If you do not seal them, keep them packed into a dry place. Below are photos of the finished candle holders. It was so easy and a fun little project. I can not wait to light them on our guest's tables.


As always, if you have any questions, please feel free to ask! If you make this project I hope you enjoy them as much as Justin and I do. Please feel free to post pictures of your finished projects as well if you can. We would really like to see them.
No comments:
Post a Comment